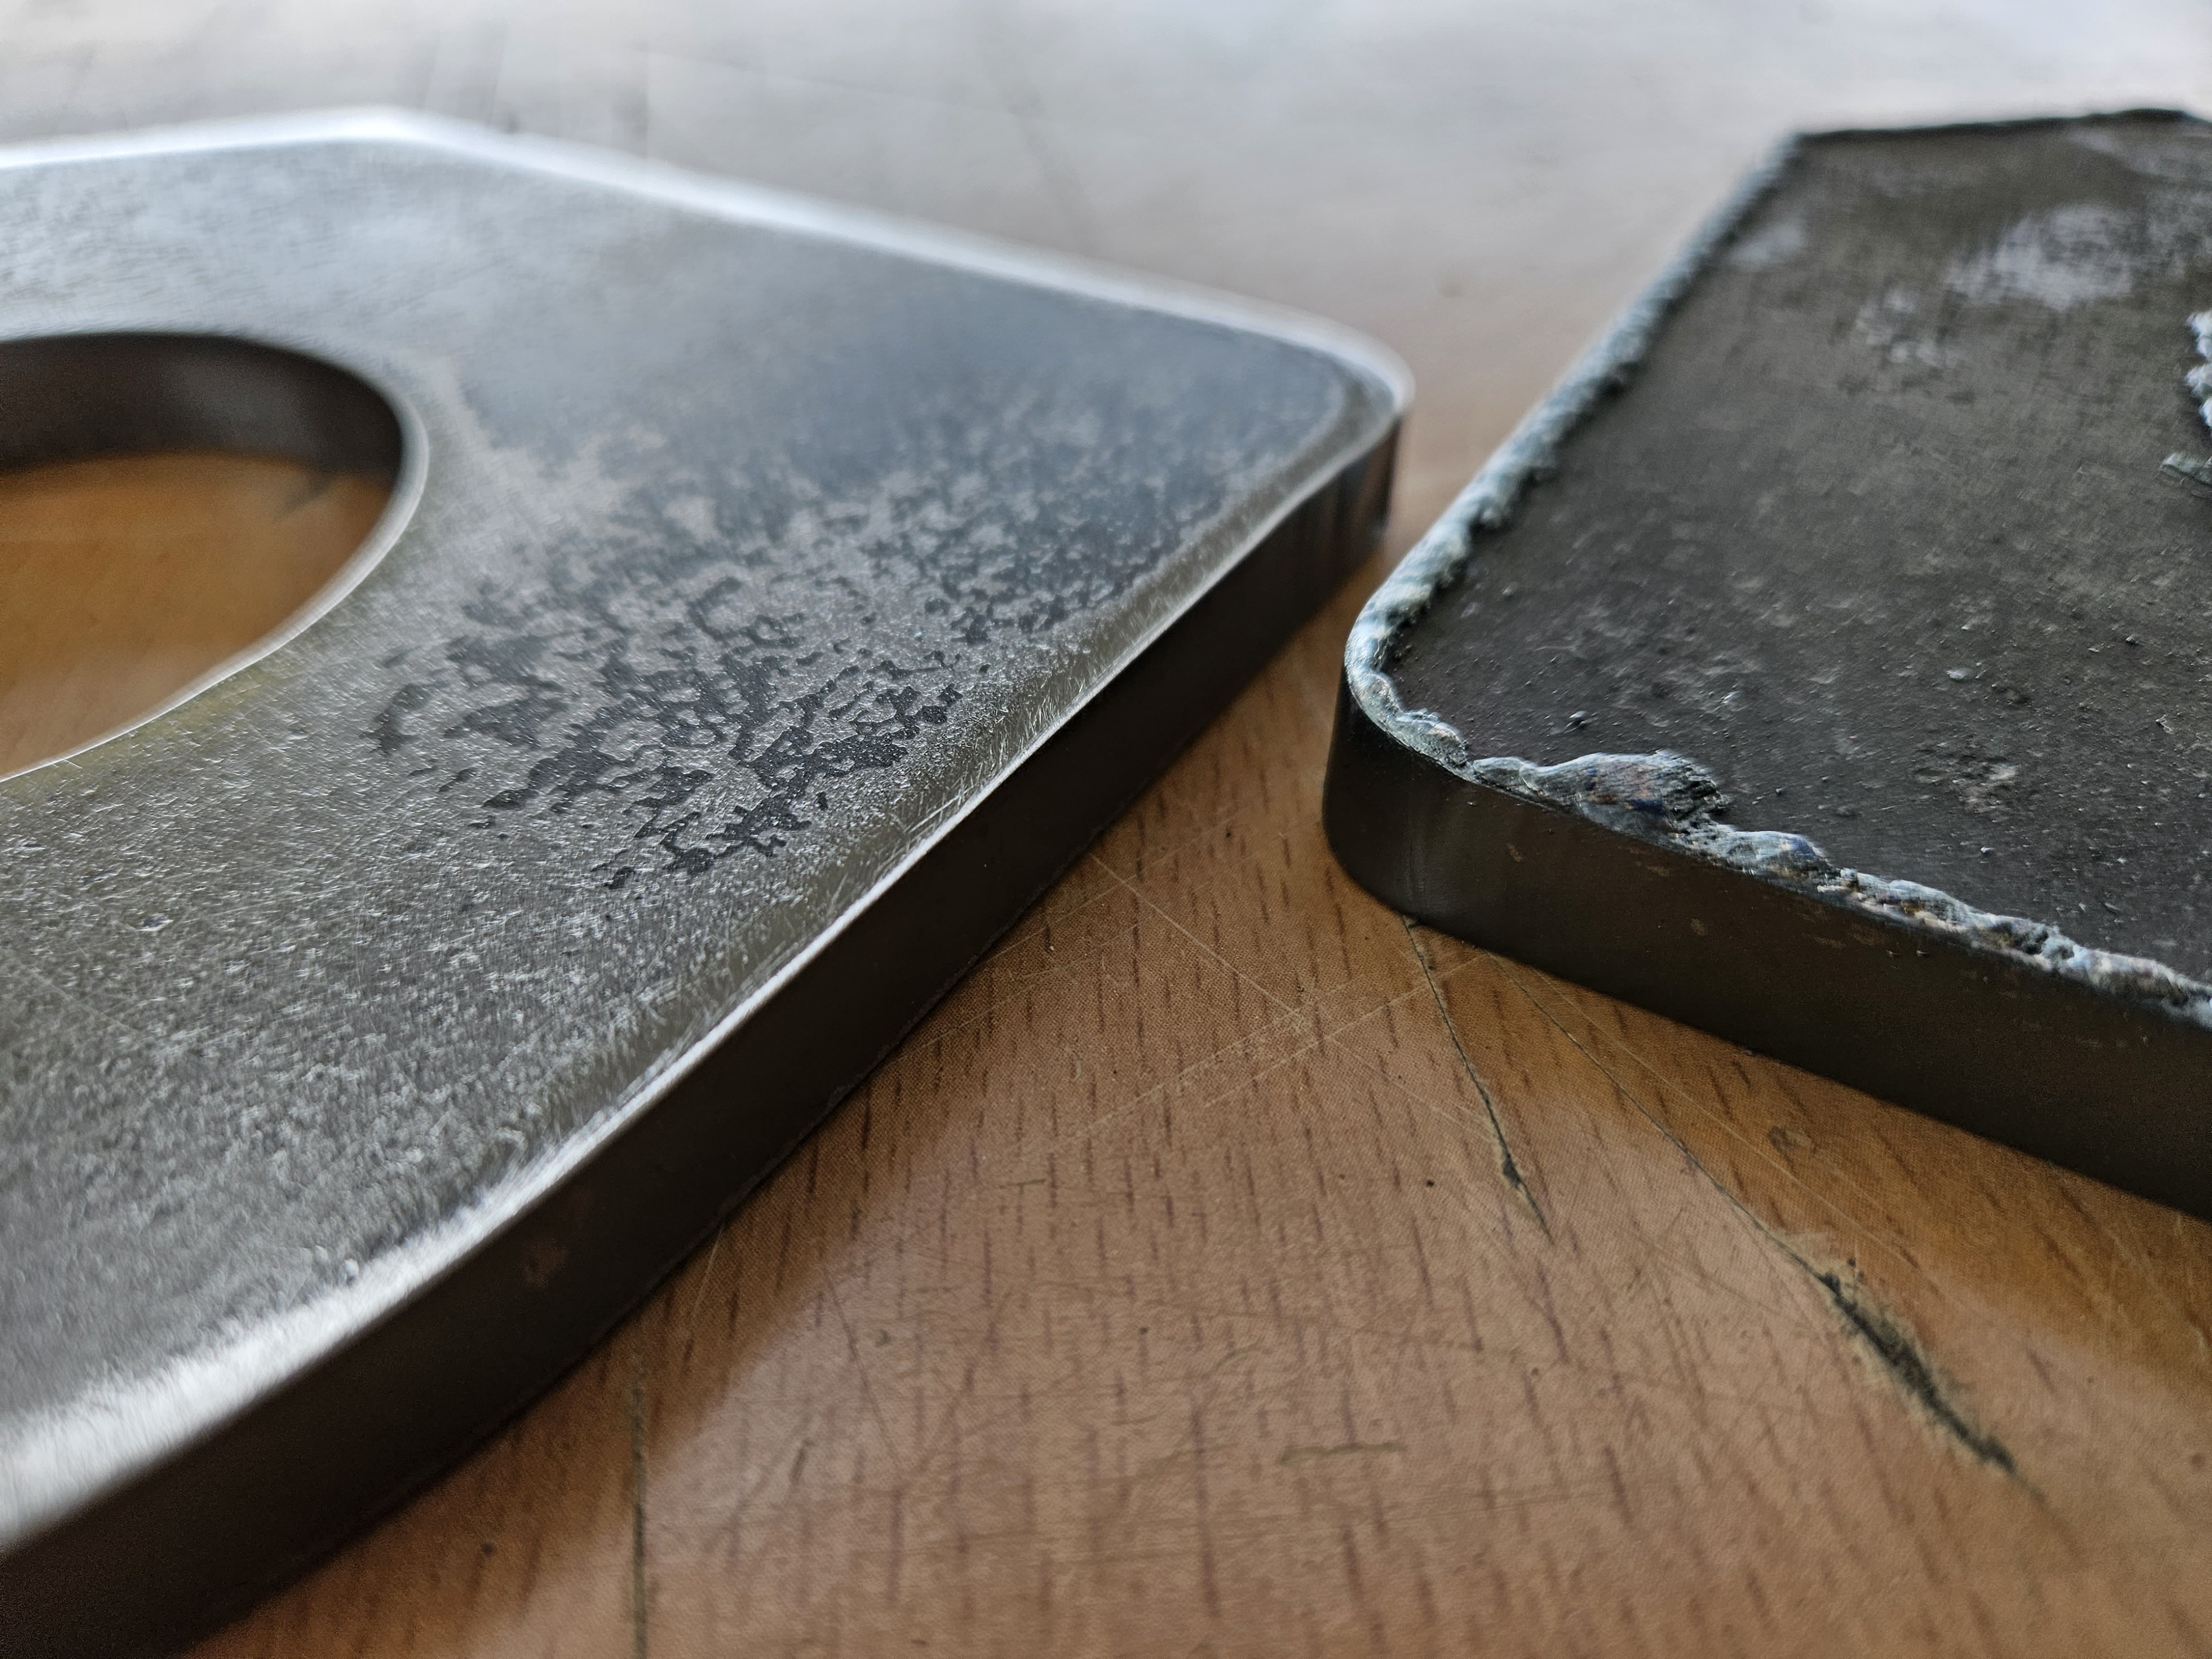
One of the myths that gets passed around all the time is on the chopping block today.
I am surprised by the number of people that still hold on to this myth so I want to share some information. The myth surrounds bur removal from sheet metal parts. I am going to focus this on laser cutting but the same would apply to other methods of cutting. I am just going to let go of folks referencing their machine as a grainer, polisher or 10,000 other things.
When you cut metal via laser there will be a bur. The type of laser, the speed of the cut and a list of other things play into the quality of the cut. But these things aside there will be a bur of some degree. As the laser passes through the material it pushes material out of the bottom of the cut. Some of that material will hang on to become the bur.
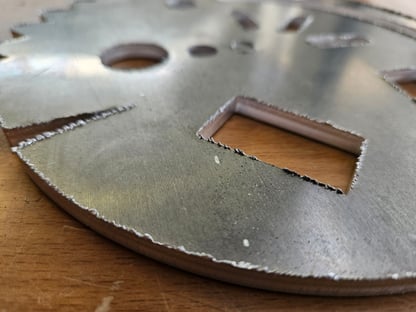
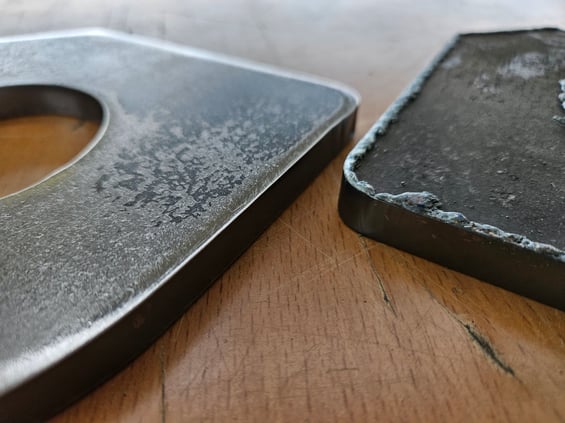
By looking at the bur you can tell from what side it was cut and all manner of things in general. In the image above the bur is sticking up vertical from the surface. To "debur" a part the goal is to remove the bur from that cut edge. This is where the myth starts to come into play.
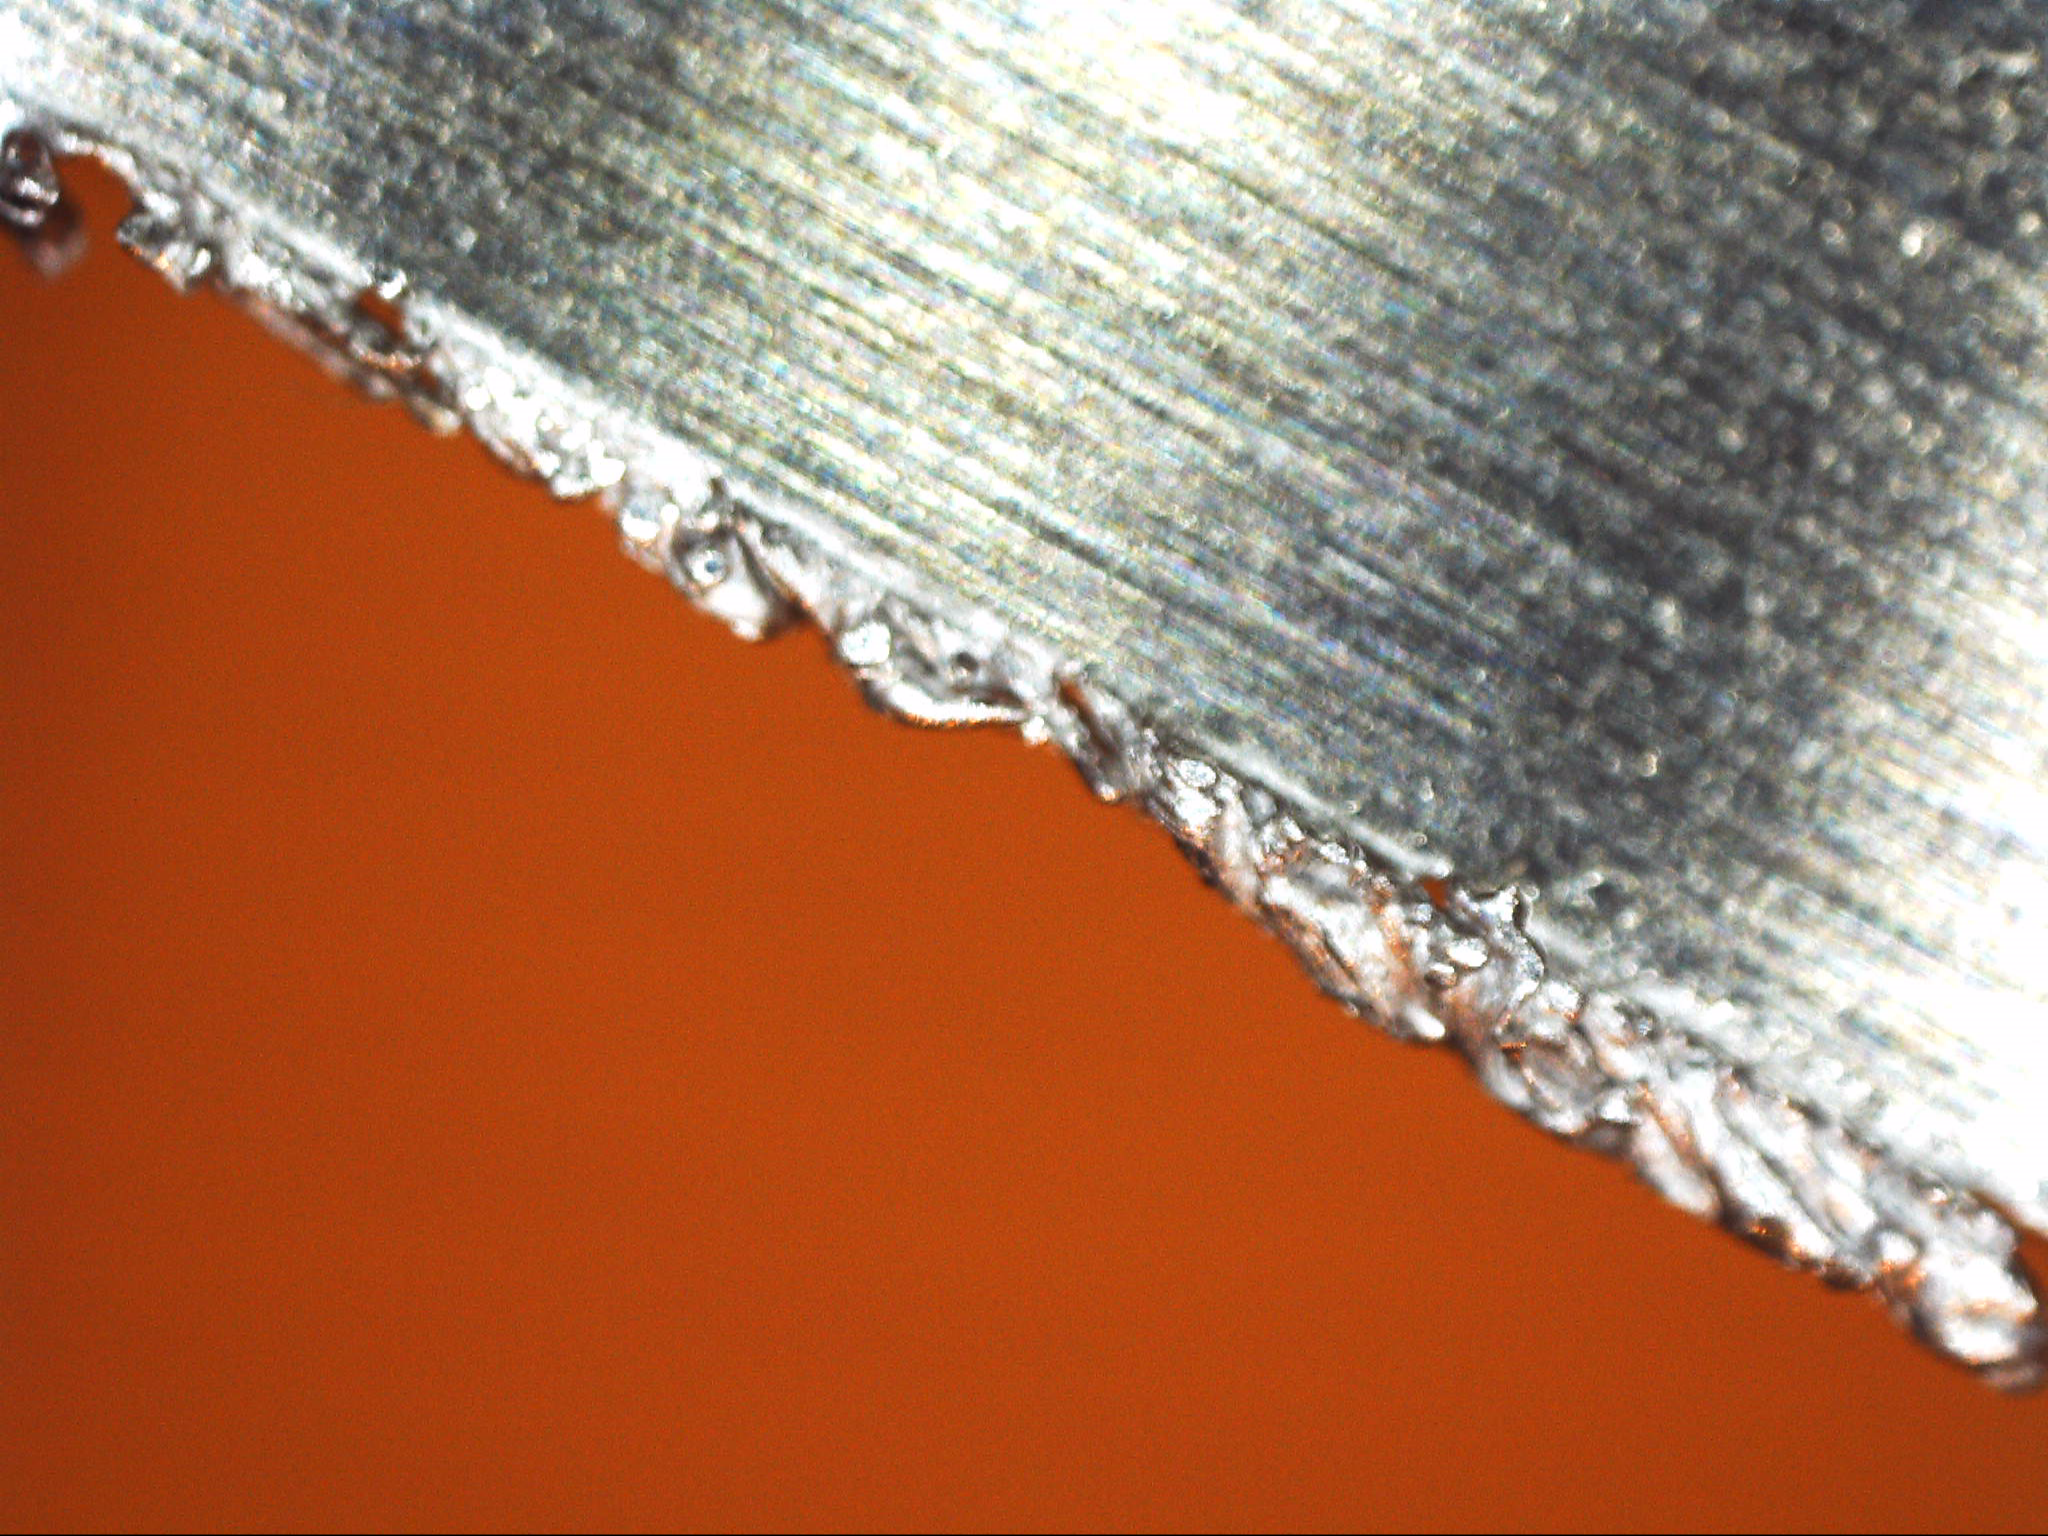
In the very close up image above the part has been passed under a wide belt sander. What you can see is that the bur is no longer sticking up vertical from the parts surface. The belt has removed some of the material but only pushed the bulk of it over the edge of the part. Everyone has likely seen this happen before. Passing a part under the sanding belt of a typical sander is not deburring. A sanding belt will not give a bur free part as that is not what it is designed to do. This is the foundation of the myth that a single wide belt in a machine can produce a bur free part. It will in fact push a vertical bur over to make it a horizontal bur. In this situation you did not remove the bur you only moved it. This is why after you send a part under a sanding belt it has such a sharp or knife edge. This is the part that tends to cut people and we all know the feeling of that sharp edge and I to have the scars to prove it.
The solution to this and the reality vs the myth is the second step. To remove the bur you need a second step to deal with the horizontal bur. In a two station setup the first will remove some of the bur and push the rest over the edge. Now you need the second step to come in and remove the horizontal bur. The best candidate for this is a brush of some fashion. The brush will work that corner with the bur to remove the material that makes up the bur.
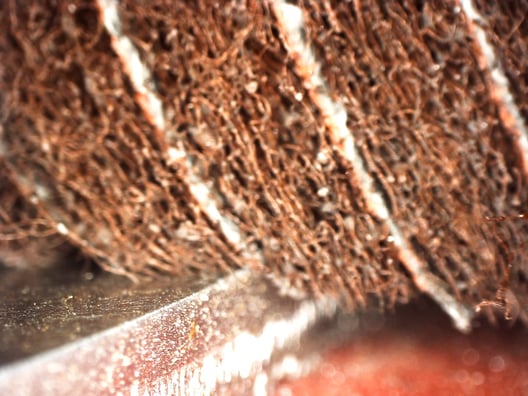
The image above is a very close up shot of a brush wrapping over the edge of a part. This brush used in a Loewer is flexible enough to wrap over the corner and take off the bur. This second step is how the Loewer machines are able to truly remove the bur from parts. The configuration and choice of abrasive will change based on the material and need but the base principle will not change.
To remove a bur you need two steps or tools. "Well I don't use a laser smart guy my parts are flame cut" Same thing would still hold true. Again the tools might change but the principle will not when it comes to removing a bur.
There are other factors that come into play with a bur. An example would be heat hardening. The heat from the cutting operation can cause the bur to become heat hardened. That makes the bur tougher to remove. A hardened bur will obviously be harder than the base material. So if you don't choose the right tool to remove it you can cause issues with the part in general. The burs hard and stubborn so you go to a more coarse or aggressive belt. That is like using a chainsaw to open a tin can, you will for sure get in the can but what is going be left after you do.
The take away is to understand that a single sanding belt is not bur removal. At best it will move the bur after a slight reduction. You need a second step to remove the bur and the choice of tools matters. My goal was to explain why a single belt will not produce a bur free part. I hope I have done that and added a tiny bit to your finishing knowledge. If you need help with a bur we are here to help you avoid using a chainsaw on a tin can.
Topics dry deburring machineLoewer Deburring Machineswide-belt grinding machineDiscmasterAutomation