After touching on the difference between polishing, graining and bur removal I wanted to give some information on how each is done. I do not intend to go too far but rather the basic how and why for each. As with all things there is often more than one way to do anything. This is just pulling from my own experience of over a decade and what others have shown and taught me as well.
With polishing you are moving to a finer and finer finish. If you have 2B mill stainless you cant jump to 1000 grit or buffing. You need to cut the scale and get past the mill finish. You may find that 80 grit cuts the surface and removes the defects but now you have a coarse 80 grit finish. You need to move to a finer abrasive and that could be 120 or 180 grit. This process will continue until you get to a point with abrasives you are happy with finish wise, or you are ready to move to a cotton buff and compound. The finish you are after dictate what is enough. If 1000 grit is good for you then that is that and your done. If you need a flawless mirror you will need to move on to a cut and color process. The cutting process with a buff will use a coarse to medium compound and is taking the finish to a very fine but hazed point. After the cut process you will have a clear but hazy finish in most cases. The haze is the remaining scratches that are very fine but present none the less. The final step is the coloring process. This will be done with a soft cotton or even flannel buff and fine or super fine compound. This step is much like what you do to a car or motorcycle. That final step to remove the last faint scratches and brighten the finish. When done you should have your clear shine.
There is more detail to be had here and the finer points can often be the variables of any given part or material. If you are just getting into polishing it is important to get advice and work with someone who knows the process across many different parts and materials. Polishing stainless is much different than aluminum. Building the process is also important, you do not want the debris from sanding getting anywhere near the polishing buffs. The buff will pick up that debris and start to scratch the parts. There are many points where things can go off the rails so guidance is important, be it heat issues, crossing scratch lines or just holding the parts.
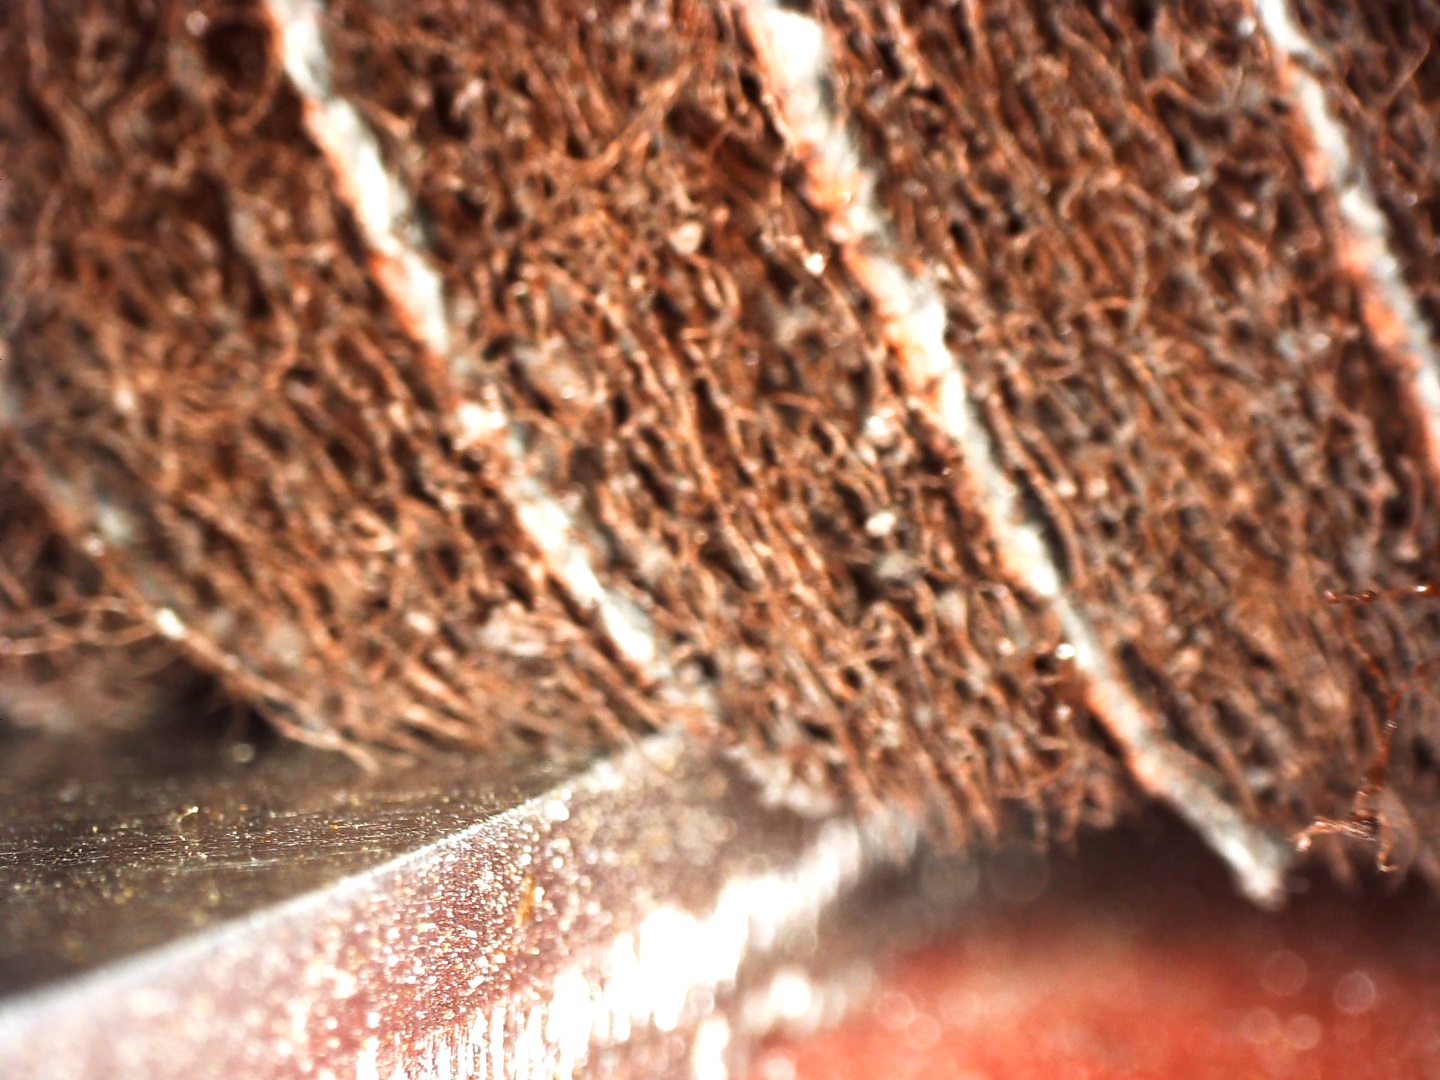
Graining is rather simple but has its share of landmines. The most common way a job shop will make its own grained finish is with a through feed style sander. A piece of 2B mill stainless passed under a 120 grit belt will get you very near a #4 finish. Some like to go to 150 or 180 grit rather than 120 but its a personal call and what the end customer wants. To get a better looking grain that is more evenly blended a second step with medium scotch brite is the trick. That second step will soften the grain and give a more even satin look. The key points are to send the material through the machine as quickly as you can. All abrasive belt machines have some form of tracking on the sanding belt. The tracking is what keeps the belt on the rollers in the machine while its running. That tracking causes the belt to move side to side while running. If you send material through too slow you will see the side to side movement in the finish. The whole point is to have a straight line or grain not a zig zag pattern. The other issue is the uneven edges. The leading and trailing edges will tend to be different due to the rotation direction of the sanding belt. It is a difference you will be able see and a lot of people will call it rolling an edge or doveing. The other issue is the knife edge that the sanding process will create. After its been run under the sanding belt you tend to find a very sharp bur that can be like a razor and can and will cut you. This is just a side effect of the process and not something gone wrong. If you do the second step with scotch brite you can control the knife edge but to what degree is a variable. Purchasing pre-grained material with laser paper covering the finish is a popular option. This allows you to cut the material and with the right machine you can remove the bur from the cutting process. It is possible to remove the bur from the material with out removing the laser paper. You need a deburring machine setup to allow this and understand the limitations. You can not get a heavily rounded edge with laser paper but you can remove the bur and break the edge. Here again getting guidance from someone with experience can save a ton of time and money by avoiding trial and error.
De-burring or bur removal in general is much different than graining. Many mix the two and do not understand the difference. While when graining you want the part to pass through the machine as quickly as you can, the opposite is true for bur removal. Bur removal requires at least two steps to be effective. The bur left by cutting the material will be at 90 degrees to the surface. You need to bend or push that bur over that 90 degrees with the first step. The second step then removes the bur and can round the corner as needed. A typical setup would be a slow feeding speed through the machine with the first station acting to push the bur from vertical to horizontal. The second station would then with a brush remove the bur and round the edge. The key points are a slower processing speed and two steps. Missing either of the steps causes the process to fail. You also do not want to apply any more sanding pressure than is required as doing so just wears the abrasive faster and creates more heat.
These are just the high points of the different processes. As materials and requirements change so do the processes. The pitfall many find is attempting to cut steps out of the process. Very often the longest path between two points is a short cut. Doing the process correctly can and often will save time and money in the long run. Knowing what you need to do and getting advice from someone with experience are the best points I would offer. Experience is a harsh teacher some times so taking advantage of some one else's experience is well advised.
Feel free to email any questions we are happy to help.

Topics Small Part DeburringLoewer Deburring Machinesgraining sheet metalwide-belt grinding machineDiscmastermetal finishingpolishing